
Is Your Gas Station Fuel Piping Really Ready? 10 Checks Before Backfilling
News 2026年 9月 10日 72
The pipeline is installed. The trench is ready. But is it ready to be buried?
A fuel pipeline may look flawless on the surface while still hiding problems such as leaking joints, defective welds, incomplete electrofusion connections, poor electrical continuity, internal debris, or failed pressure tests.
Do not rush to backfill.
Once the pipeline is buried, even a small defect can become expensive to fix. Repairs may require excavation, work stoppages, lost operating time, environmental cleanup, and additional project costs.
That is why the period before trench backfilling is one of the most important inspection stages in a gas station fuel piping project.
This guide provides 10 practical gas station fuel piping testing and inspection checks to complete before backfilling and commissioning, covering pressure testing, tightness testing, weld inspection, electrical continuity, pipeline flushing or purging, and vapor recovery system verification.
For EPC contractors, project managers, gas station owners, and equipment buyers, these checks provide a practical way to identify problems while the piping is still accessible.
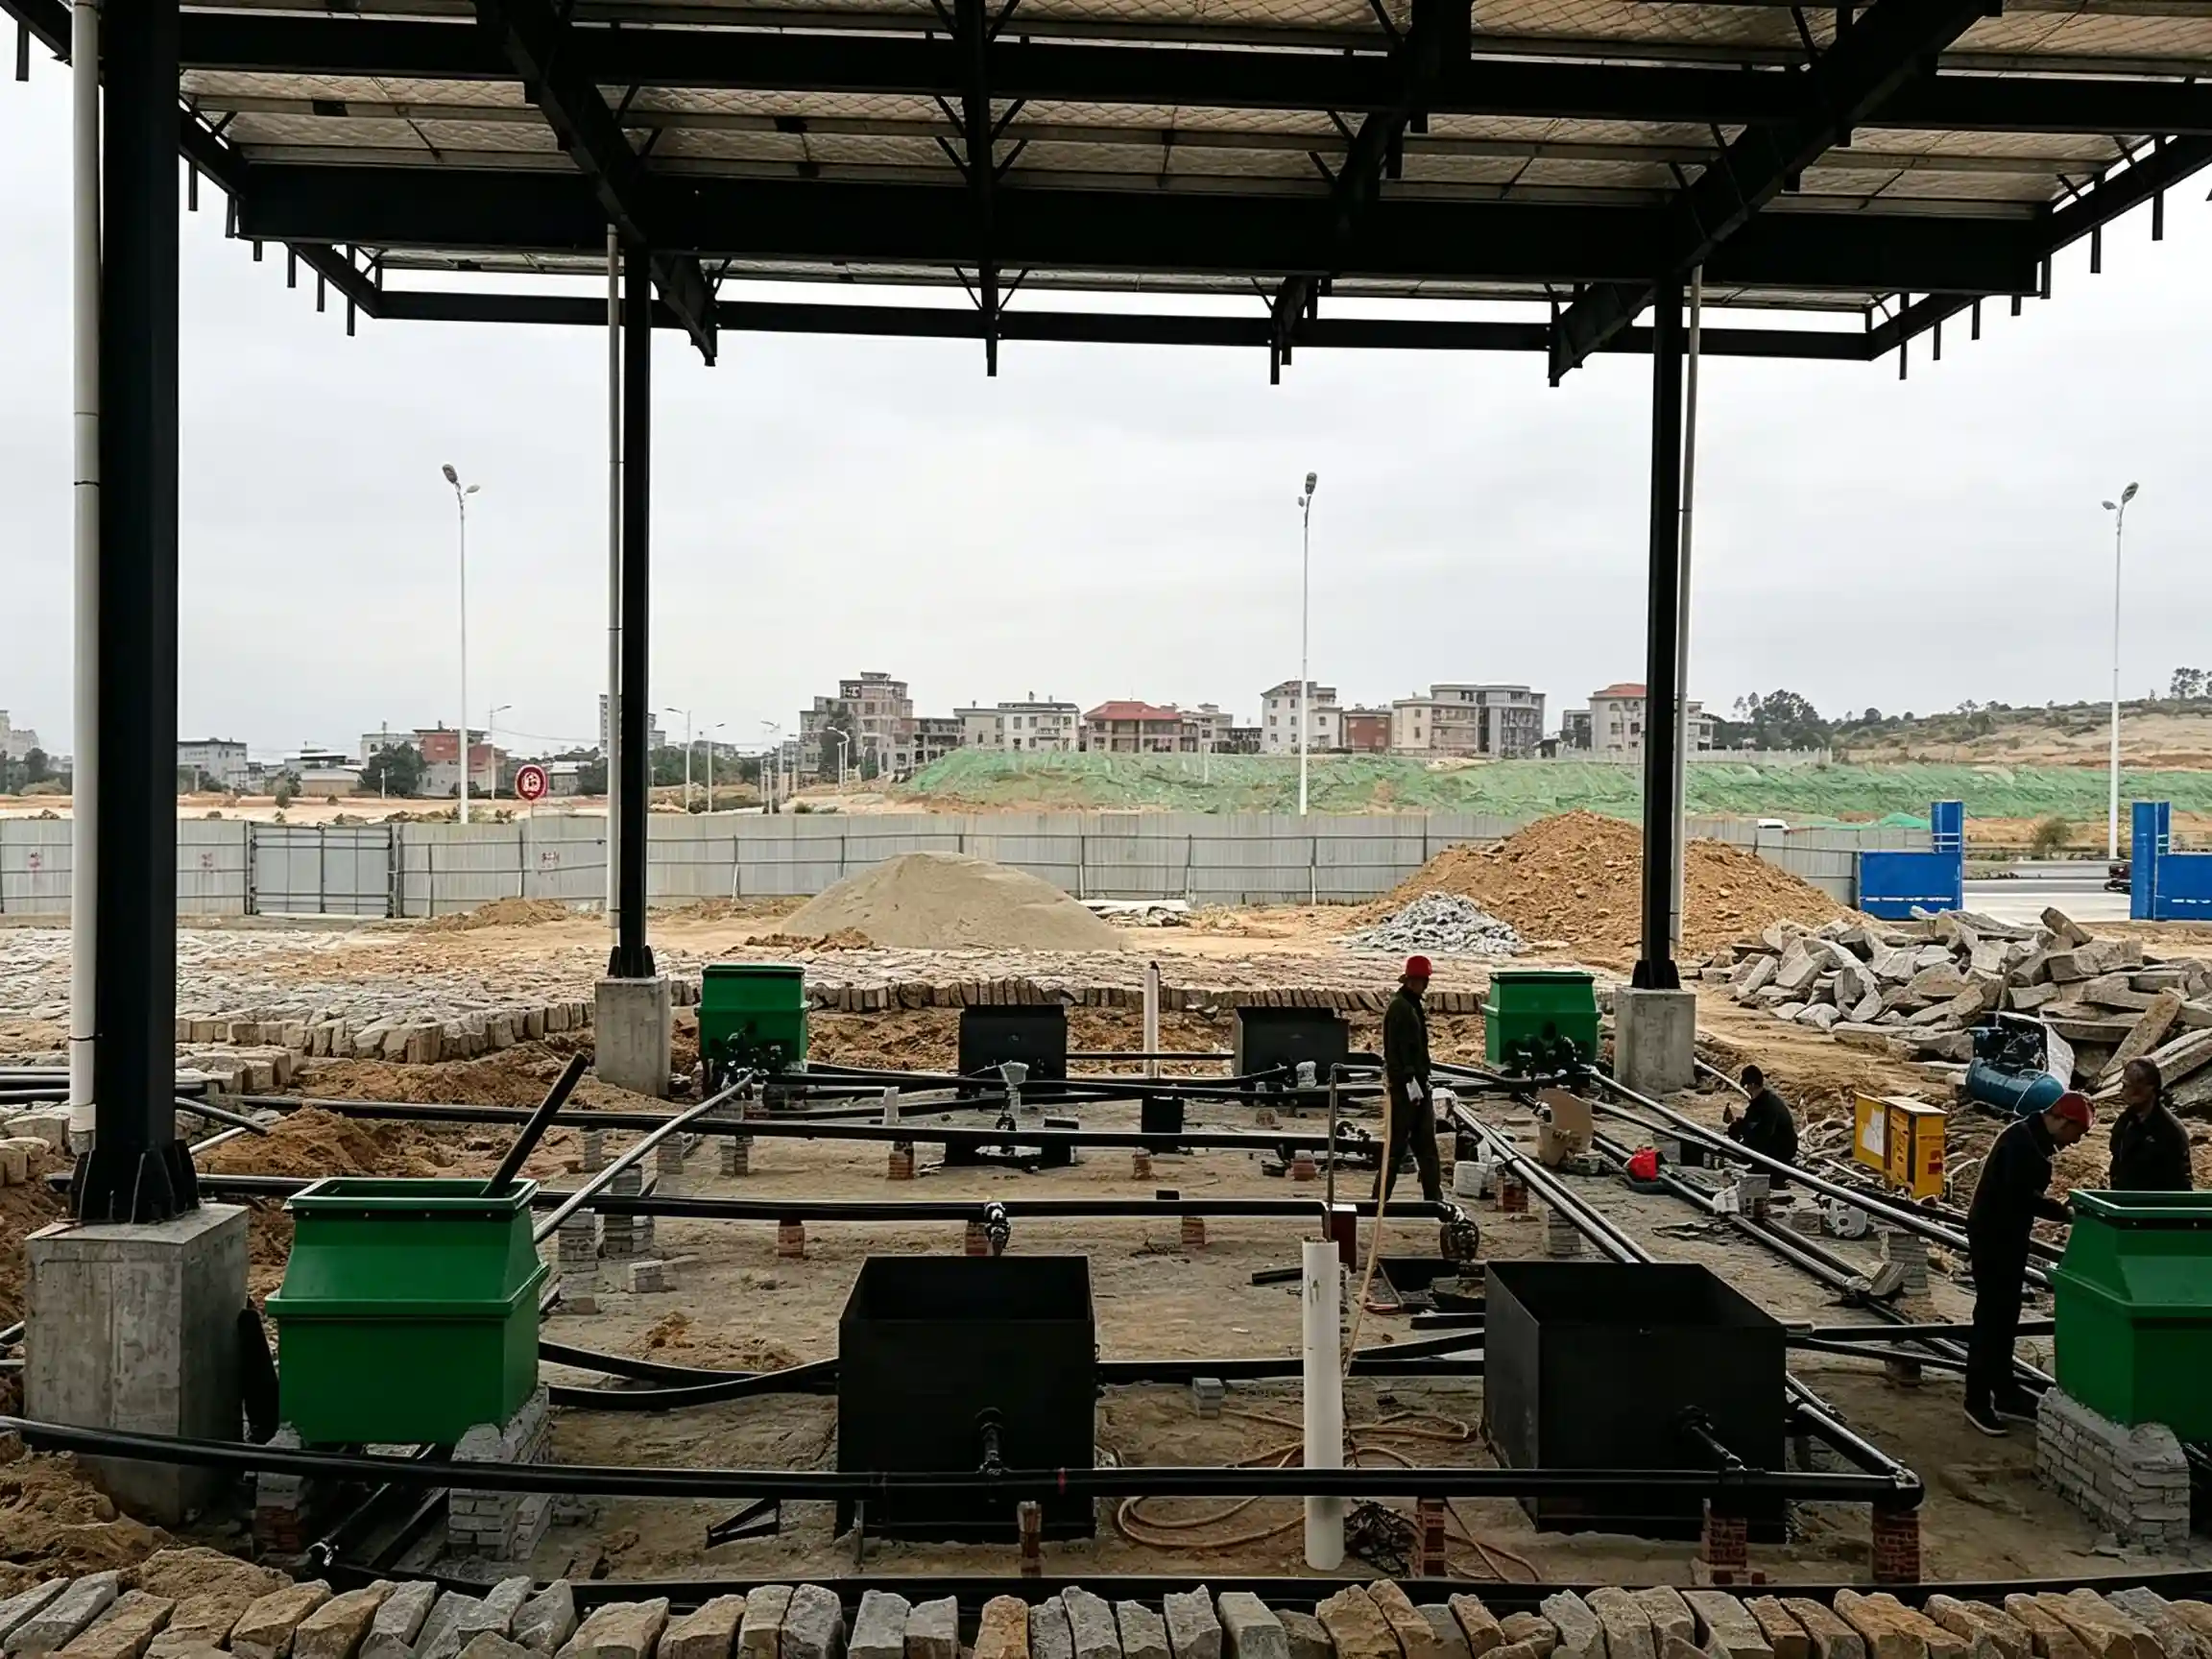
1. Start With the 10-Point Fuel Piping Inspection Checklist
Before backfilling an underground fuel piping system, the project team should be able to answer “yes” to these questions:
| Check | What should be confirmed? |
|---|---|
| 1 | Are all tank and pipe connections complete? |
| 2 | Have steel pipe welds been visually inspected? |
| 3 | Has the required NDT been completed? |
| 4 | Has the fuel piping passed the pressure test? |
| 5 | Has the tightness or leak test passed? |
| 6 | Have thermoplastic connections passed electrical continuity checks? |
| 7 | Has the pipeline been flushed or purged? |
| 8 | Has the vapor recovery piping been tested? |
| 9 | Have defects been repaired and retested? |
| 10 | Are all inspection and test records complete? |
If any answer is “no”, the underground piping should not simply be covered and forgotten.
The purpose of gas station fuel piping testing is not only to satisfy a construction procedure. It is to prove that the completed system is ready for the next stage.
2. Check the Tank and Pipe Connections First
Before discussing pressure testing, check the connections.
For piping connected directly to an underground storage tank, the tank should be installed and stabilized through the required water-filling or load-settlement testing before the piping is connected.
Why does this matter?
Because an underground tank can experience slight movement or settlement after installation. If the piping is connected too early, that movement may place additional stress on the pipe or tank connection.
For thermoplastic fuel piping, the electrofusion joints also require careful inspection.
After electrofusion work is completed:
- Check the condition of each joint.
- Confirm that the connection has been completed correctly.
- Check electrical continuity where required.
- Complete the required inspection before backfilling.
The practical rule is simple:
Do not bury a connection that you have not finished checking.
If you are still planning the pipe layout, pipe size and connection arrangement, see our guide to Gas Station Underground Fuel Piping before moving into the testing stage.
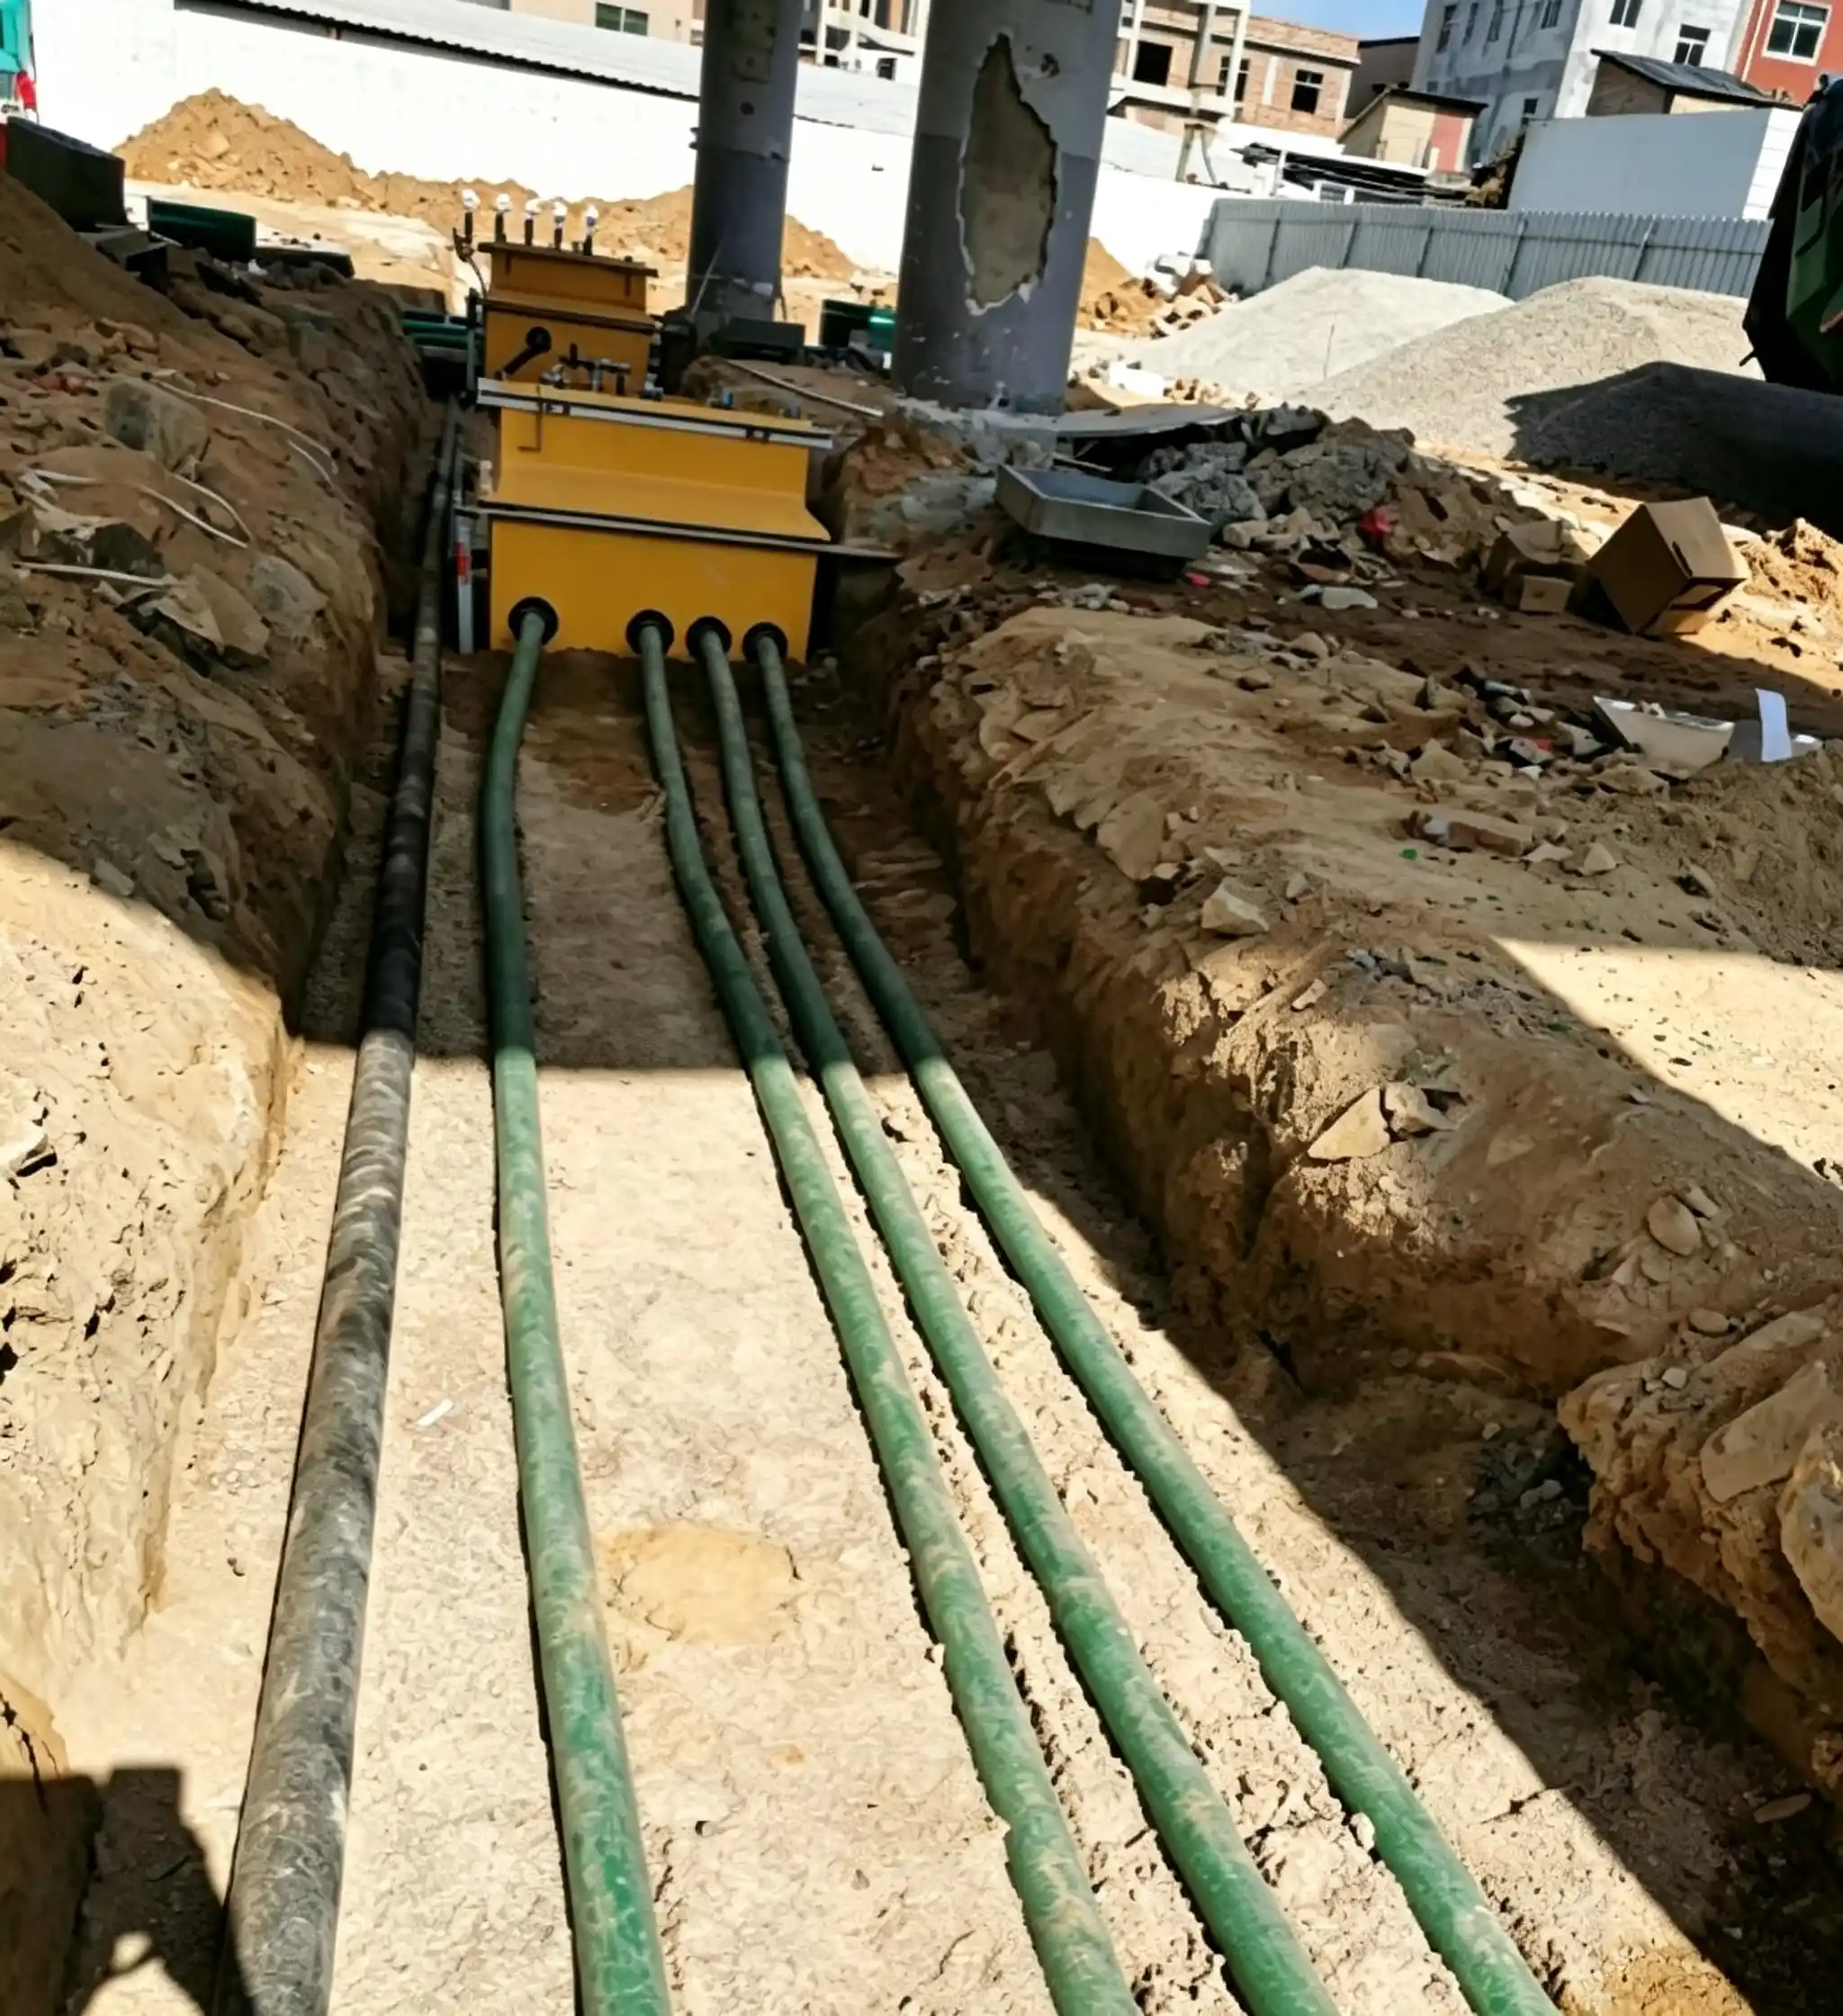
3. Check the Welds Before They Disappear Underground
A steel fuel pipe can look strong while a poor weld remains hidden at the connection.
That is why fuel piping weld inspection should be completed before the pipeline is covered.
The weld surface should be checked for defects such as:
- Cracks
- Lack of fusion
- Slag inclusions
- Excessive spatter
- Porosity
The requirements used for this guide also provide measurable limits for undercut and weld reinforcement.
For example:
- Undercut depth: ≤0.5 mm
- Continuous undercut length: ≤100 mm
- Total undercut length: ≤10% of the total weld length
Weld reinforcement should also be controlled:
- Pipe wall thickness ≤6 mm: ≤1.5 mm
- Pipe wall thickness >6 mm: ≤2 mm
These values give the QA/QC team something measurable to check rather than relying only on visual judgment.
4. Does the Project Need NDT?
Visual inspection cannot detect every type of weld defect.
For fuel piping carrying combustible media, the applicable design documents may require non-destructive testing such as radiographic testing (RT) or ultrasonic testing (UT).
Under the requirements used for this guide:
- RT technique level should not be lower than AB level.
- For oil and oil-gas pipelines, RT acceptance is based on Grade III.
- For oil and oil-gas pipelines, UT acceptance is based on Grade II.
The inspection percentage is also important.
For oil product piping, the RT or UT inspection percentage for welded joints by each welder should not be less than:
10%
For fixed-position welds:
At least 40% of the required inspection quantity should be fixed welds, and not less than one joint.
If an unacceptable weld is found during sampling inspection, the inspection quantity should be increased according to the applicable requirements.
This is why fuel piping NDT requirements should be confirmed before welding starts, not after the trench has already been backfilled.
Planning a New Gas Station Project?
Before ordering fuel dispensers, pumps, tanks and piping, share your project requirements with us. We can help you review the equipment combination and supply requirements before installation begins.
5. Fuel Piping Pressure Testing: What Pressure Should You Use?
One of the most important questions during fuel piping pressure testing is not simply:
“Was the pressure test completed?”
The better question is:
“What was the actual test pressure for this piping system?”
Different piping systems and materials can have different testing requirements.
Based on the requirements used for this guide:
| Piping System | Material | Positive Test Pressure |
|---|---|---|
| Pressure-fed product piping | Steel | 600 ± 50 kPa |
| Pressure-fed product piping | Thermoplastic | 500 ± 10 kPa |
| Suction product piping | Steel | 600 ± 50 kPa |
| Suction product piping | Thermoplastic | 500 ± 10 kPa |
| Vent / vapor recovery piping | Steel | 600 ± 50 kPa |
| Vent / vapor recovery piping | Thermoplastic | 500 ± 10 kPa |
| Unloading piping | Steel | 600 ± 50 kPa |
| Unloading piping | Thermoplastic | 500 ± 10 kPa |
For applicable suction, vapor recovery and double-wall systems, vacuum testing may also be required. Under the requirements used here, several systems use a vacuum test condition of approximately -90 ± 5 kPa.
All pressure values above are gauge pressure.
Why does the test pressure matter?
Because a pressure test is not something that should simply be copied from the previous gas station project.
The test condition should be confirmed against the:
- Piping system
- Pipe material
- Operating pressure
- Approved design
- Applicable project standard
Use the correct test pressure for the actual system.
6. Pressure Test Passed? Now Check Tightness
This is an important distinction.
A piping system passing its pressure test does not automatically mean that every commissioning requirement has been completed.
The combustible-medium piping system should also undergo a tightness test at the design pressure.
The specified test medium is:
- Compressed air, or
- Nitrogen
Think about the two tests this way:
Pressure testing: Can the system withstand the specified test condition?
Tightness testing: Can the completed system maintain integrity without unacceptable leakage?
Both checks are important when performing an underground fuel piping leak test.
7. Found a Leak? Never Repair It Under Pressure
If a leak is discovered during pressure testing, do not try to repair the pipe while it is still pressurized.
Use a simple sequence:
Stop → Depressurize → Repair → Retest
After the defective section has been repaired, the required test should be repeated.
This may seem obvious, but it is an important part of a proper fuel piping testing procedure.
The purpose of testing is to prove the integrity of the completed system. A temporary repair made while the pipeline is pressurized does not provide that proof.
8. Clean the Pipeline Before Commissioning
Imagine a pipeline that has passed its pressure test but still contains welding debris, rust, water or other contaminants.
It is not ready for normal operation.
Before commissioning, the piping should be flushed with clean water or purged with dry, clean air, nitrogen or another applicable inert gas.
Before flushing or purging:
- Isolate equipment that should not participate in the operation.
- Protect valves and instruments.
- Remove or isolate equipment that could be damaged during flushing.
- Make sure purging pressure does not exceed the allowable pressure of the piping or equipment.
For water flushing, the specified flow velocity should be at least:
1.5 m/s
The discharge should be visually checked until the required cleanliness is achieved.
For air blowing, the stated requirement uses a white-painted target at the discharge point. No rust or other particles should be found on the target within 5 minutes.
A simple commissioning rule is:
Test the pipe. Clean the pipe. Then commission the pipe.
9. Don’t Forget Vapor Recovery Piping
A gas station may have several underground piping systems, not just product lines.
If vapor recovery is included in the station design, the vapor recovery piping also needs to be verified.
Before backfilling, check:
- Pipeline tightness
- Hydraulic resistance
- Connections
- Required test results
- Commissioning records
The applicable requirements should be checked against GB 20952 and the local environmental regulations governing the project.
This is important because a vapor recovery pipe can be physically installed and still fail to perform correctly.
Installed does not always mean operational.
10. What Happens If a Weld Fails?
A rejected weld should not simply be marked “repaired” and forgotten.
The project team should be able to track the complete process:
Failed → Repaired → Retested → Accepted
Under the requirements used for this guide, the repair cycles are limited to:
- Carbon steel piping: maximum 3 repair cycles
- Other metal piping: maximum 2 repair cycles
This is why weld inspection records are important.
A project manager should be able to identify:
- Which weld failed?
- Who made the weld?
- What repair was performed?
- Was the repaired weld retested?
- Was the final result accepted?
Good documentation is part of good gas station fuel piping inspection.
11. Check Electrical Continuity in Conductive Thermoplastic Piping
For thermoplastic fuel piping with a conductive inner layer, electrical continuity should not simply be assumed.
Each connection should maintain the required electrical continuity.
Before backfilling:
Check → Measure → Record
Do not wait until the pipeline is buried to discover that a connection does not provide the required continuity.
This is a small inspection step that can prevent a much larger excavation and repair job later.
12. Before Backfilling, Check the Entire System
This is the final opportunity to inspect the underground piping while it is still accessible.
Before backfilling, confirm:
Connections
- Tank connections are complete.
- Pipe connections are complete.
- Electrofusion joints have been checked.
- Electrical continuity has been verified where required.
Welds
- Weld appearance is acceptable.
- Required RT/UT inspection is complete.
- Rejected welds have been repaired.
- Repaired welds have been retested.
Testing
- Pressure testing has passed.
- Tightness testing has passed.
- No unacceptable leakage has been identified.
Cleaning
- Flushing or purging is complete.
- Internal cleanliness requirements have been met.
Vapor Recovery
- Vapor recovery piping has been tested.
- Required tightness and hydraulic resistance checks are complete.
Documentation
- Test records are complete.
- Inspection records are available.
- Repair records are available.
- Final acceptance documents are organized.
Only after these checks are complete should the team move to backfilling according to the approved construction procedure.
13. A Practical Fuel Piping Commissioning Sequence
For a new gas station project, the testing and commissioning sequence can be organized as follows:
1. Install and stabilize the underground storage tank
↓
2. Connect the fuel piping
↓
3. Complete welding or electrofusion
↓
4. Perform visual inspection
↓
5. Complete required NDT
↓
6. Perform pressure testing
↓
7. Repair defects and repeat testing where required
↓
8. Perform tightness testing
↓
9. Flush or purge the piping
↓
10. Test vapor recovery piping
↓
11. Complete pre-backfill inspection
↓
12. Backfill the trench
↓
13. Complete commissioning
This sequence creates clear inspection checkpoints and reduces the risk of discovering an underground piping problem after the system has already been covered.
14. What Should You Ask Your Fuel Piping Contractor?
If you are an EPC contractor, project manager, station owner or equipment purchaser, don’t ask only:
“Is the piping finished?”
Ask for evidence.
Before approving the underground fuel piping work, ask:
- What pipe material is being used?
- What connection method is being used?
- What pressure test was performed on each piping system?
- What were the actual test pressures?
- Were the required weld inspections completed?
- Was NDT completed according to the project requirements?
- Were any welds repaired?
- Did the repaired welds pass retesting?
- Was the tightness test completed?
- Was the pipeline flushed or purged?
- Was vapor recovery piping tested separately?
- Were electrical continuity checks completed where required?
- Are the pressure and inspection records available?
These questions help turn a simple installation confirmation into a proper gas station piping inspection checklist.
15. The 5-Minute Pre-Backfill Checklist
If you are standing beside the trench and the contractor is ready to backfill, ask five simple questions:
① Are all connections checked?
YES / NO
② Are the welds and required NDT accepted?
YES / NO
③ Did the pressure and tightness tests pass?
YES / NO
④ Has the piping been flushed or purged?
YES / NO
⑤ Are the inspection and test records complete?
YES / NO
If all five answers are YES, you have a much stronger basis for moving to the backfilling stage.
Conclusion: Prove It Before You Bury It
Underground fuel piping becomes difficult to inspect once it is covered with soil.
That is why the most valuable moment for gas station fuel piping testing and inspection is when the pipeline is still visible and accessible.
Before backfilling, make sure you can prove that:
The connections are sound.
The welds have been inspected.
The required NDT is complete.
The piping has passed pressure and tightness testing.
The system has been cleaned or purged.
The vapor recovery piping has been checked where required.
The inspection records are complete.
The principle is simple:
Prove the pipeline is ready before you bury it.
For a complete gas station project, fuel piping should also be considered together with the storage tank, submersible pump, fuel dispenser, vapor recovery equipment, leak detection and other station equipment.
Choosing compatible equipment and coordinating the supply chain early can help reduce installation problems and avoid costly changes during construction.
Building or Upgrading a Gas Station?
Tell us your project location, fuel types, dispenser quantity and equipment requirements. Our team can help coordinate the equipment supply for your gas station project.